
vPrism Tutorials: User Interface
Transcript
Welcome, let's go through vPrism's user interface.
Loading a video will help with the process. To do so, either drag the video into the Viewer, or click on the App Menu and select Open.
To setup for the tutorial, we'll click on render, export frames, just to show the properties panel.
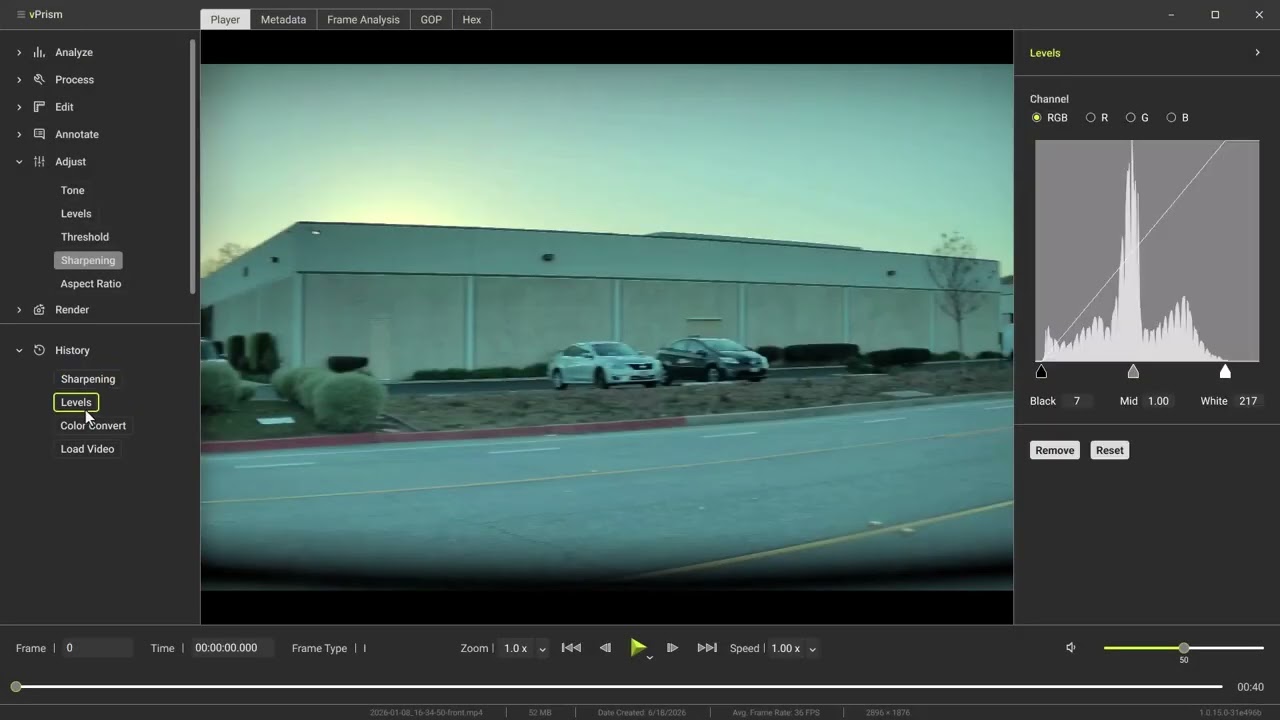
There are six major components in the vPrism user interface: the tool panel, the history stack, the workspace tabs, the viewer, the properties panel, and the transport bar.
The Tool Panel is where you'll find filters and tools, grouped by category. Clicking on the caret expands each category and simultaneously closes other categories to keep things tidy.
Let's perform a basic tone adjustment and modify sharpness to help with the rest of this tutorial.
The History Stack documents each action from the moment the file is opened to the final export. Many are editable by left-clicking, or removable by right-clicking or pressing delete.
The workspace tabs are used to switch between modes. If you would like to analyze file-level metadata, you'll use the Metadata tab. For frame-level metadata, use Frame Analysis. The GOP tab will display an analysis of the GOP structure, and the Hex tab will show the hex data and hash values.
The properties panel is where you will modify and apply each tool or filter.
Finally, the Transport Bar displays the current frame number, PTS time, and frame type. It also lets you zoom, adjust playback speed and volume, switch the playback mode from PTS to average, and navigate frame-by-frame.
In addition, a summary of the file's metadata is displayed for quick reference.
That covers the basics, you're ready to start working in vPrism!